
Prepare the photo before you upload
Use the original photo when possible. A screenshot of a social post may add borders, text and compression while making the model smaller. Crop away those distractions in your image editor, leaving a margin around the complete model.
↔ Scroll sideways to read all columns
| Check | Use this | Change this first |
|---|---|---|
| Subject | One complete finished model | Several models, loose-parts piles or a cropped roof or wheel |
| View | A front or slight three-quarter view showing the outline | An overhead shot that hides the front, or a dramatic wide-angle view |
| Light | Visible edges on both dark and light pieces | Glare across the body or shadows hiding the base |
| File | A clear JPG, PNG or WebP | A tiny thumbnail; export unsupported formats before upload |
Run the photo-to-steps workflow
BrickGPT starts from the finished model image. It does not first turn a pet, portrait or landscape into a buildable LEGO design. If that is your starting point, prepare a brick-style concept image in a separate image tool and treat it as an unverified concept.
- Choose a plan and sign in when the public sample matches your intended use.
- Upload the prepared photo in the studio and inspect the preview for missing edges.
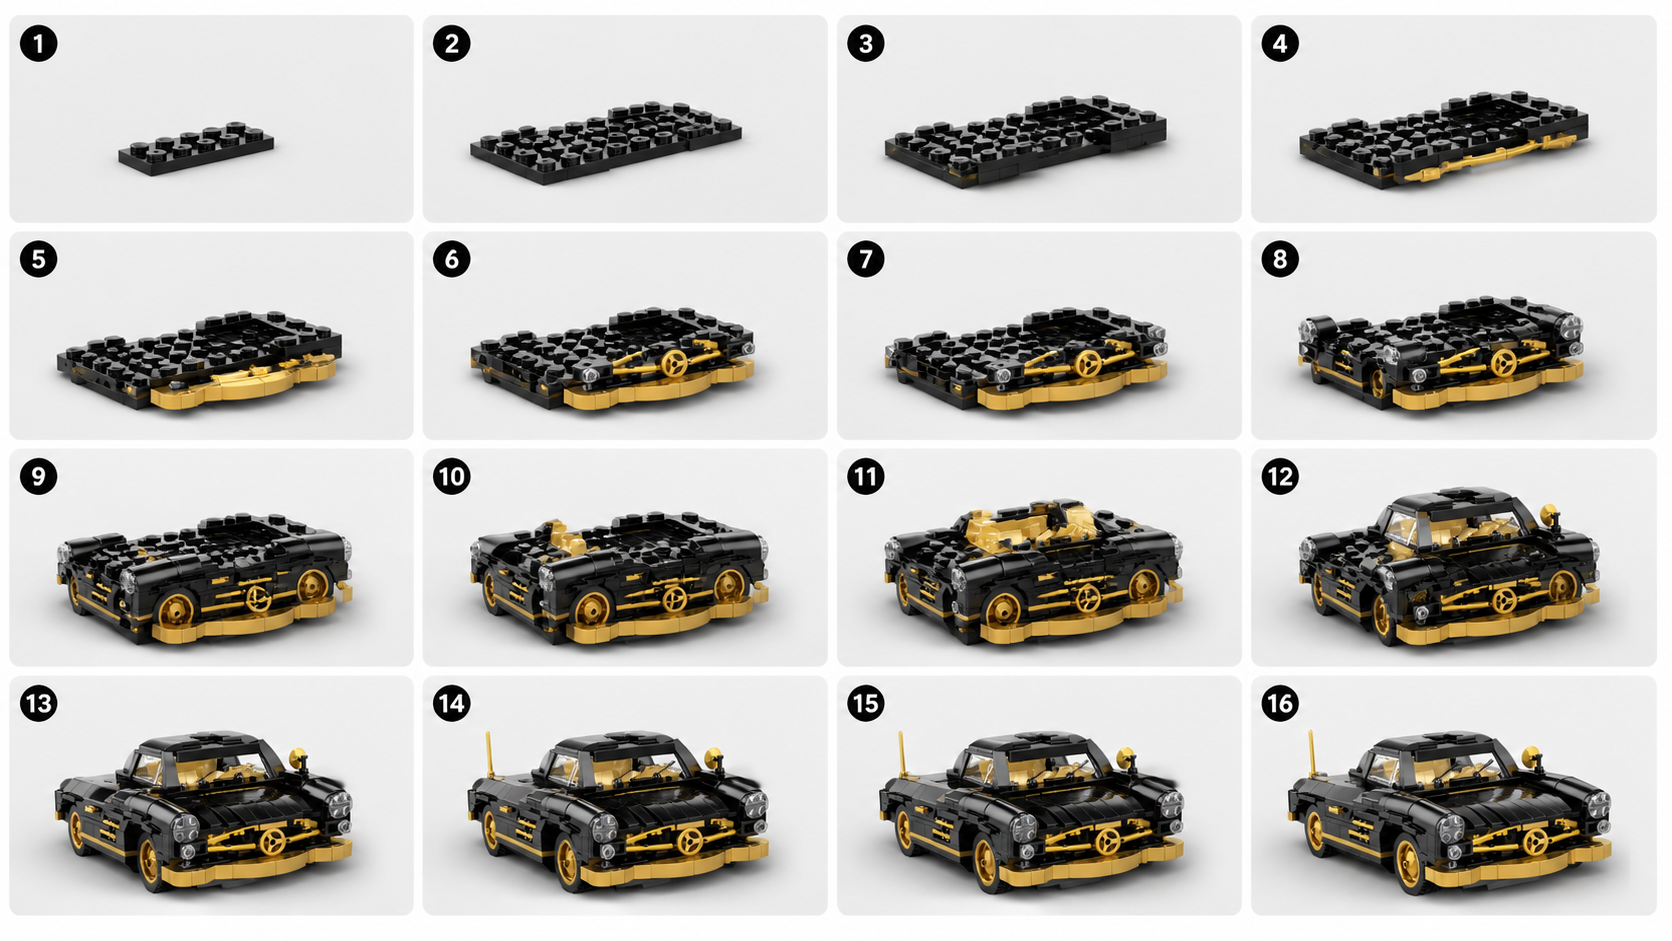
- Start generation once. The studio creates the visual board, then the assembly video.
- Compare the final panel and video ending with your original photo; download only after reviewing the results.
Compare the source and result side by side
Keep the original photo open beside the board. Check the silhouette, wheel or window positions, main colors and distinctive features. A result may look polished while changing the model. Write down the first visible mismatch so that any new attempt has a specific goal.
Use the public model selector to compare the coupe and convertible. These examples show the output format, not a promise that every uploaded model will keep all details or generate the same number of panels.
When a better photo will help—and when it will not
If the roof is cut off or dark pieces disappear into the background, retake or reframe the photo. If the missing information is underneath the model, inside a gearbox or behind a wall, a sharper version of the same view will not reveal it.
For actual reconstruction, gather other views and the original designer’s instructions or model file. Use that evidence in a manual modeling workflow; the current BrickGPT upload accepts one image, not a multi-view reconstruction project.