
LEGO Club Activities: A 60-Minute Build-and-Share Workshop
Need a LEGO club activity that ends with more than a table of unfinished models? Run a rescue-vehicle challenge: small teams build, test, explain and document one design. This is a suggested 60-minute session for children who can handle small construction pieces, with an optional adult-run digital showcase.
Start with an outcome you can actually observe
The outcome is a working rescue vehicle plus a short explanation of a design change. Give each group the same brief: move a small passenger across a marked tabletop route without the passenger falling off. This makes a mixed collection of bricks useful; teams do not need matching kits or a particular finished model.
Use this plan as a starting point, not as a claim of measured educational results. Pilot it with your group and adjust the challenge to their motor skills, language needs and available pieces. For younger children, substitute larger age-appropriate blocks and a shorter route. An adult should manage equipment and follow the center’s usual supervision practices.
Set up three stations before children arrive
At the build station, put mixed bricks into shallow trays and provide a passenger figure or a small block that represents one. At the test station, mark a start, a finish and a gentle turn with removable tape. At the photo station, use a plain sheet of paper and one adult-operated phone or camera.
Try the route with an ordinary small model before class. If every design falls apart, reduce the challenge. If every design succeeds immediately, add one constraint, such as a narrower turn. Keep a few built examples out of sight so that children solve the problem rather than copy a demonstration.
- One tray and base area per group; wheels are useful but a sliding rescue sled is also a valid response.
- A visible timer, paper challenge sheets and pencils for recording the change between tests.
- One optional display for the closing showcase; the session works entirely offline.
Use a 60-minute run sheet
Explain the test before distributing extra decoration pieces. Groups should understand how they will check their model, then choose its appearance. A timer helps you protect time for testing and explanation instead of letting the build consume the whole session.
↔ Scroll sideways to read all columns
| Time | Activity | What the facilitator looks for |
|---|---|---|
| 0–5 min | Read the rescue brief and assign roles | Can the group repeat the task in its own words? |
| 5–25 min | Build a first version | Has everyone contributed a piece or an idea? |
| 25–35 min | Run two tests and change one feature | Can the team name the change and its effect? |
| 35–45 min | Photograph and fill in the challenge sheet | Is the entire model visible? |
| 45–55 min | Share one design decision per group | Can children explain a trade-off, not just name colors? |
| 55–60 min | Photograph final work and reset trays | Are pieces and work areas ready for the next group? |
Rotate roles to keep one builder from taking over
Give each child a concrete responsibility: builder, tester, parts finder or reporter. Combine roles for smaller groups, and swap halfway through the building period. The reporter can point to the model or dictate to an adult; writing ability should not decide who can share.
If one child dominates, ask that child to explain an idea while another child places the pieces. If a team stalls, offer a choice between two constraints: secure the passenger better or make the vehicle turn more easily. Avoid solving the entire design for them. This keeps the prompt small enough to act on while leaving ownership with the group.
Record the change, not just the finished object
Ask for a first-test note, a drawing of the changed feature and one final photo. Use the printable sheet below to keep these together. A model that still fails the route can be a useful showcase if the group explains what it tried and what it would test next.
For a parent-facing display, use a group code and a model title. Follow your institution’s consent rules before sharing children’s names, faces or voices. A model-only photo is usually enough for this activity, so there is no need to make students create accounts.
Add a model-video showcase only after the physical activity
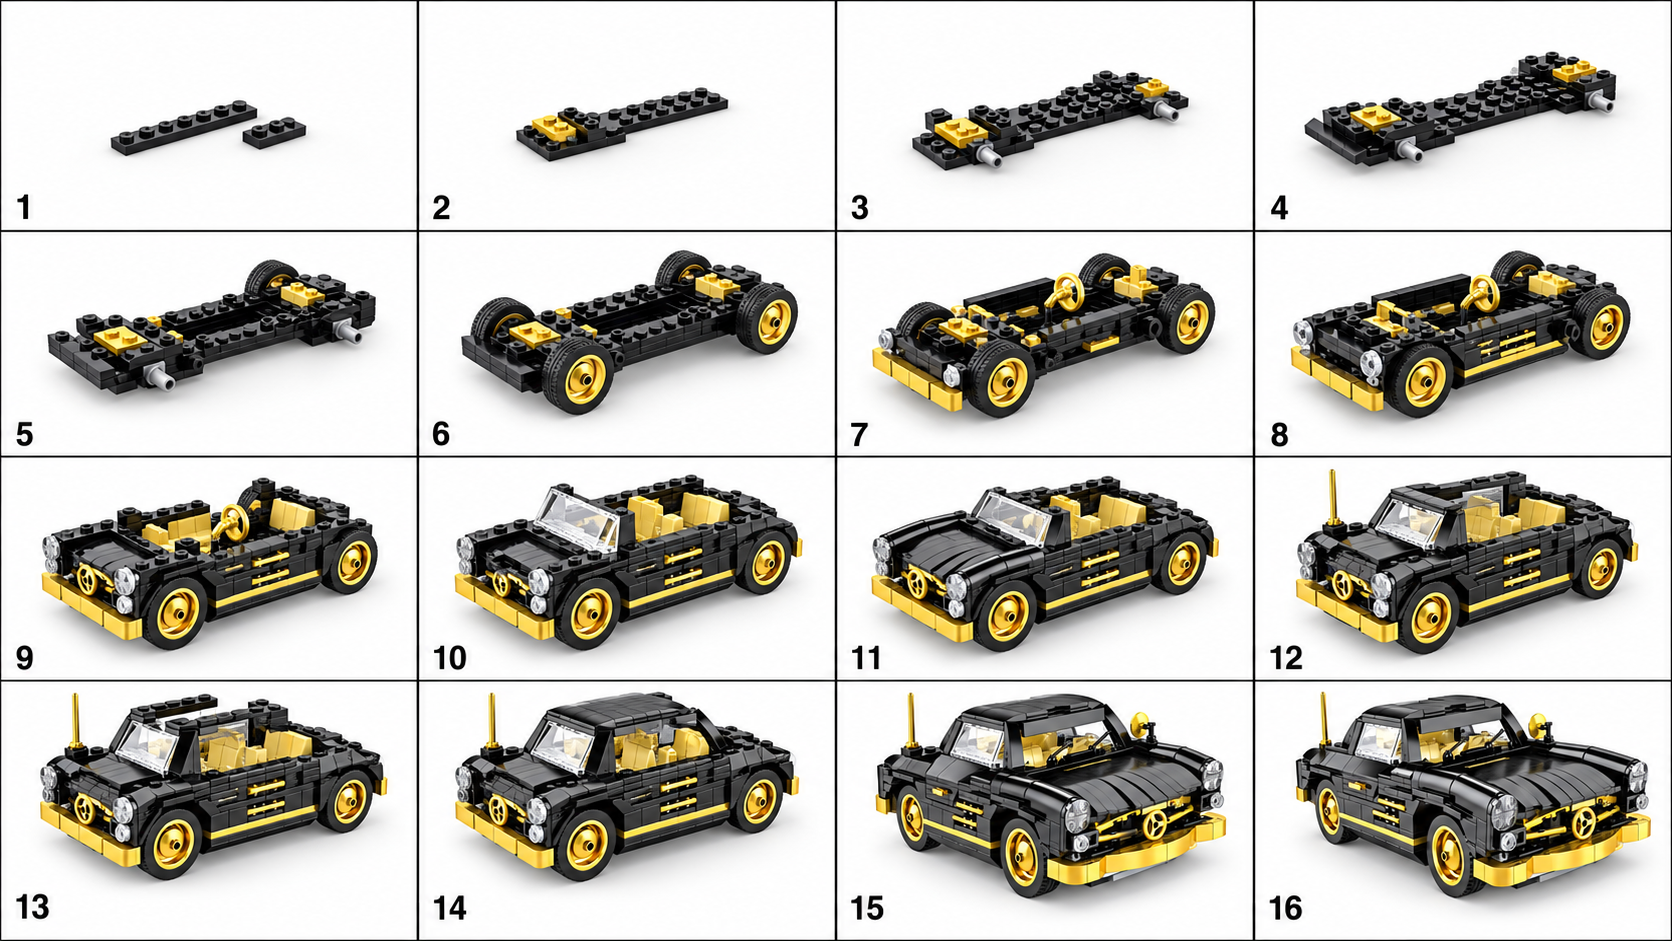
An adult can use BrickGPT to turn a finished model photo into an AI visual steps board and a short assembly-style video. Treat this as a presentation of the model. It does not reconstruct the group’s real test sequence or verify hidden connections. The sample below is an existing product example, not a student submission or evidence of classroom use.
Compare the photo, board and video before displaying them. Check whether the shape, wheels, colors and main attachment points remain consistent. If the AI changes a feature the children worked hard to explain, use the original photo instead. This is a useful chance to ask what a generated image preserves and what it invents.
Allow extra time outside the workshop if you choose paid generation. Do not schedule the closing discussion around a live generation finishing on time. You can run the entire lesson with paper and photos, or preview the public samples without signing in.
Explore sample outputs
No sign-in required.
Common facilitator questions
What if the collection has no wheels? Use a sled challenge and keep the passenger requirement. What if a child finishes early? Ask for a second test with one changed constraint, then compare the result. What if devices fail? Use a drawing and an oral explanation; the core activity does not depend on software.
How should a center describe the session? Describe the actual activity: a collaborative build, a test and a model showcase. Avoid promises that one session raises a child’s creativity score or produces verified engineering instructions. Keep a short facilitator note after the session: which constraint worked, where time ran out and what to change next time.
Sources and next steps
The workshop above is an original BrickGPT activity outline, not an official LEGO lesson or a tested case study. LEGO Education’s lesson library provides an independent reference for finding equipment-specific, age-appropriate activities. Use the classroom guide below when sequencing and explanation are your main teaching goals.